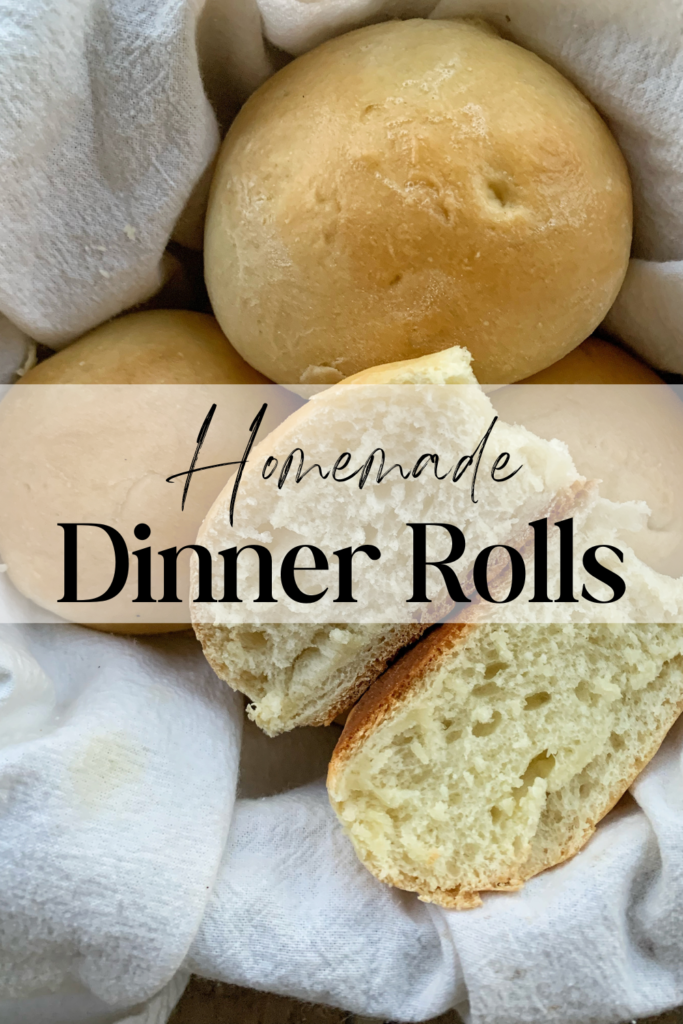
Homemade Dinner Rolls
Homemade Dinner Rolls
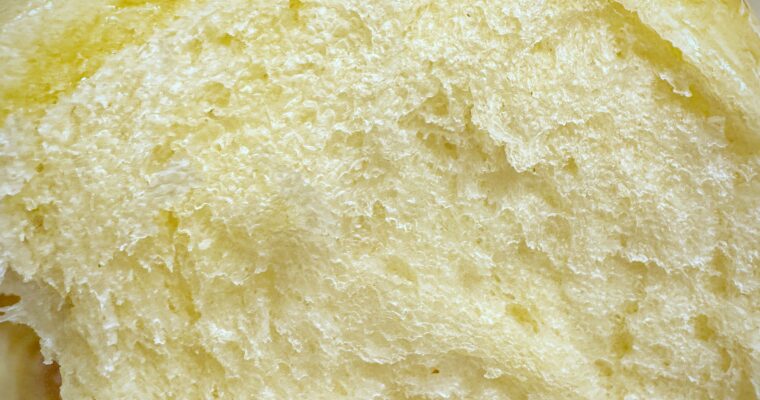
Try out the best, pillow-y soft, subtly sweet Homemade Dinner Rolls! They are delicious paired with your favorite stew, soup, steak, or really any dinner. Also perfect for Thanksgiving or Christmas dinner, these rolls are sure to please anyone who tries them.
What’s special about this recipe?
This recipe makes for a sweeter dinner roll. Not as sweet as a Hawaiian roll, though. This recipe is a classic that is sure to be a staple at holiday feasts. Served warm with butter, I dare you to try to stop at just one.
Baking anything with yeast can tend to be intimidating for most everyday, family kitchen cooks. I’m one of those! However, this rendition of the Pastry Queen’s Rocket Rolls recipe that I’ve made several times has always risen like it was supposed to, and tasted delicious. It’s a hard one to mess up when it comes to homemade bread. Let me know in the comments how you faired!
Ingredients & Supplies
For Homemade Dinner Rolls you’ll need the following ingredients:
- Active dry yeast
- Lukewarm water
- Avocado oil
- Egg
- Sugar
- All-purpose flour (or bread flour)
- Sea salt
- Olive oil
For Homemade Dinner Rolls you’ll need the following supplies:
(The following are links to some of my favorites of the needed supplies. As an Amazon Associate I earn commission from qualifying purchases.)
Homemade Dinner Rolls: Let’s get cooking!
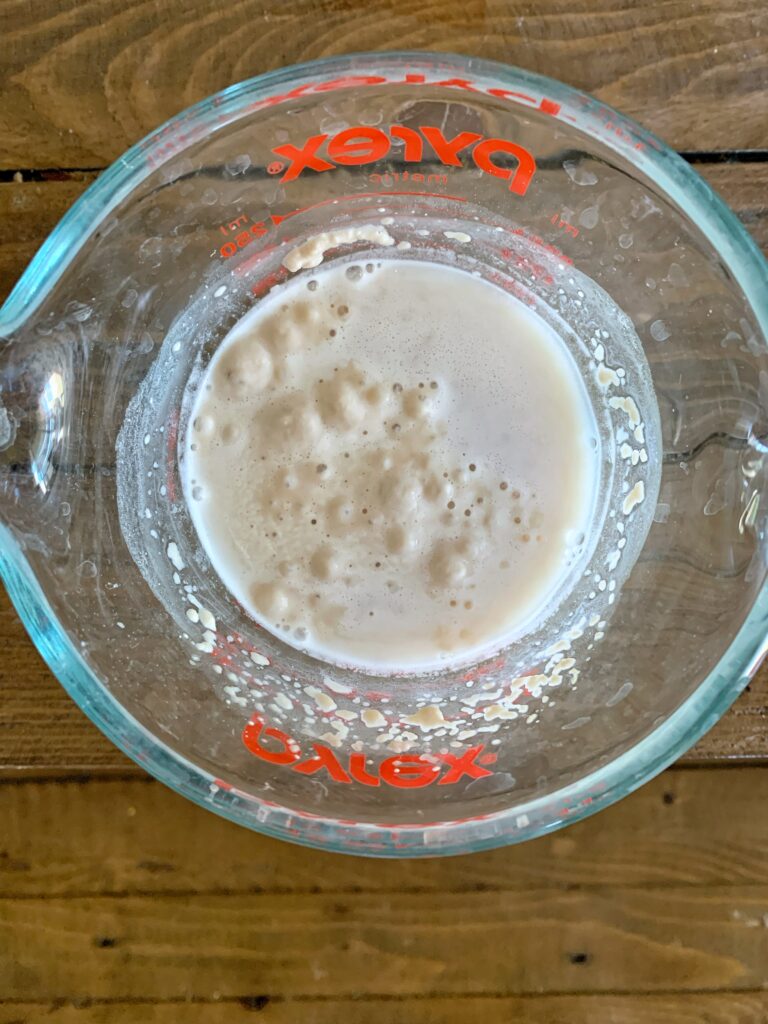
Dissolve the yeast in the lukewarm water and let sit about 5-10 minutes until foamy.
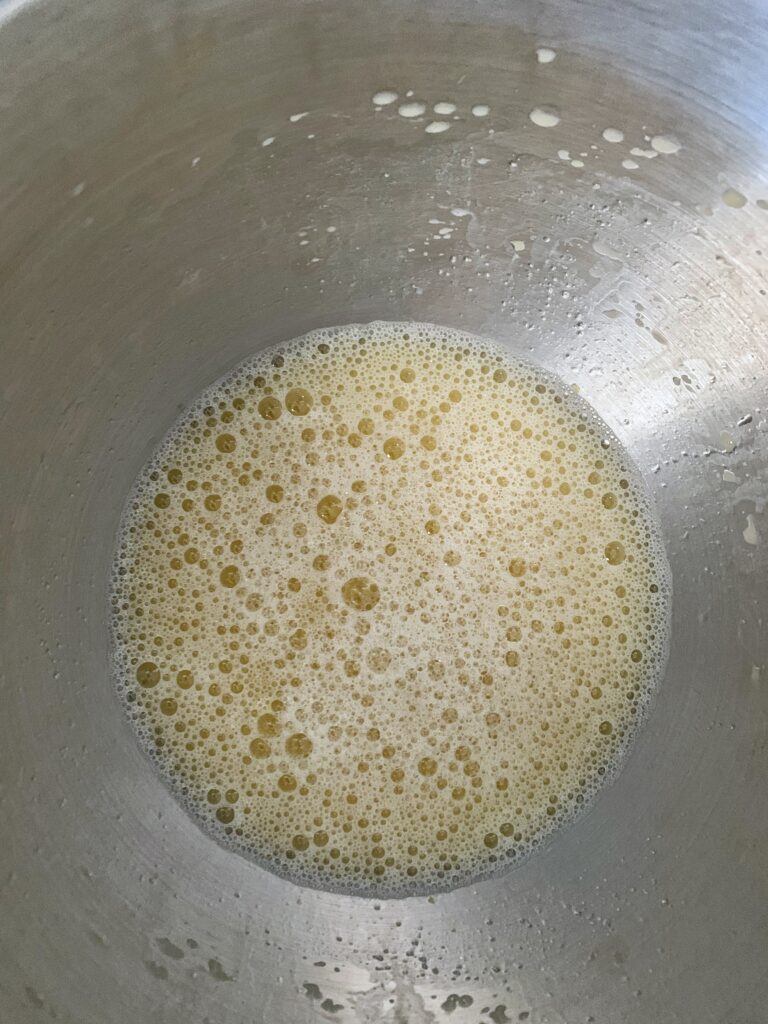
Using a mixer fitted with a whisk attachment, combine the yeast mixture, oil, egg, and sugar in a large bowl. Add the remaining 3/4 cup of water and mix to combine.
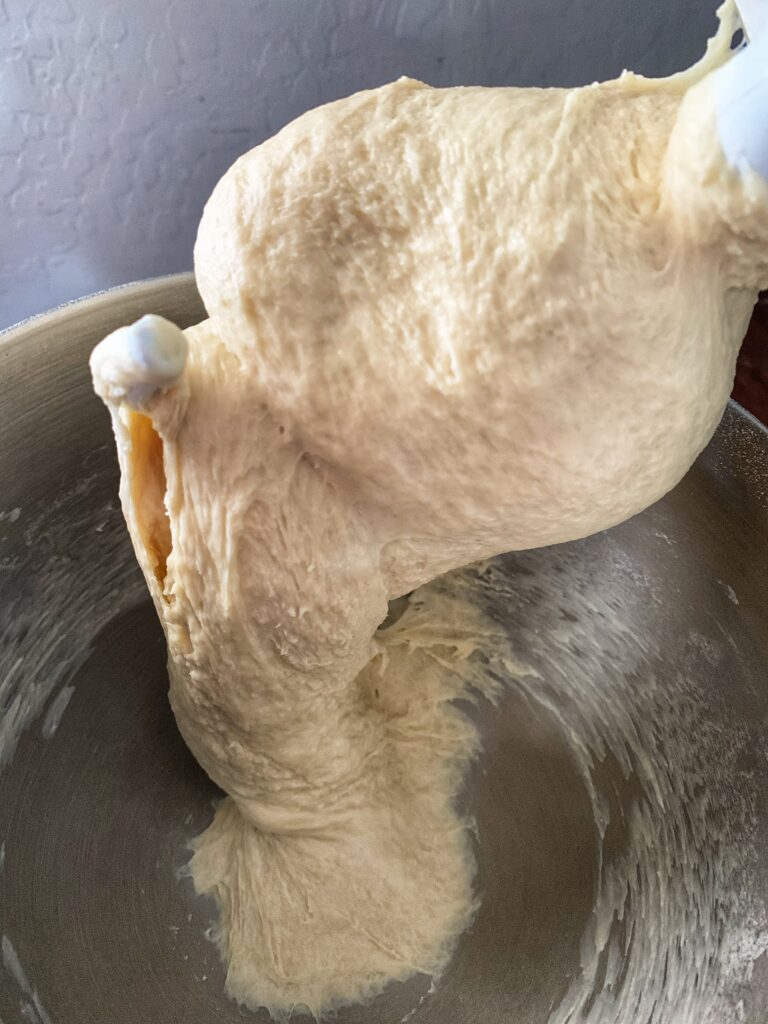
Switch to the the dough hook attachment and add the flour. Mix on medium speed until the dough holds together to become a cohesive, slightly sticky ball (about 5 minutes). When you lift up the mixer-head the dough should stick together as one mass of dough, however, it should stretch from the dough hook to the bottom of the bowl. (See photo above). Let the dough rest for 20 minutes in the bowl.
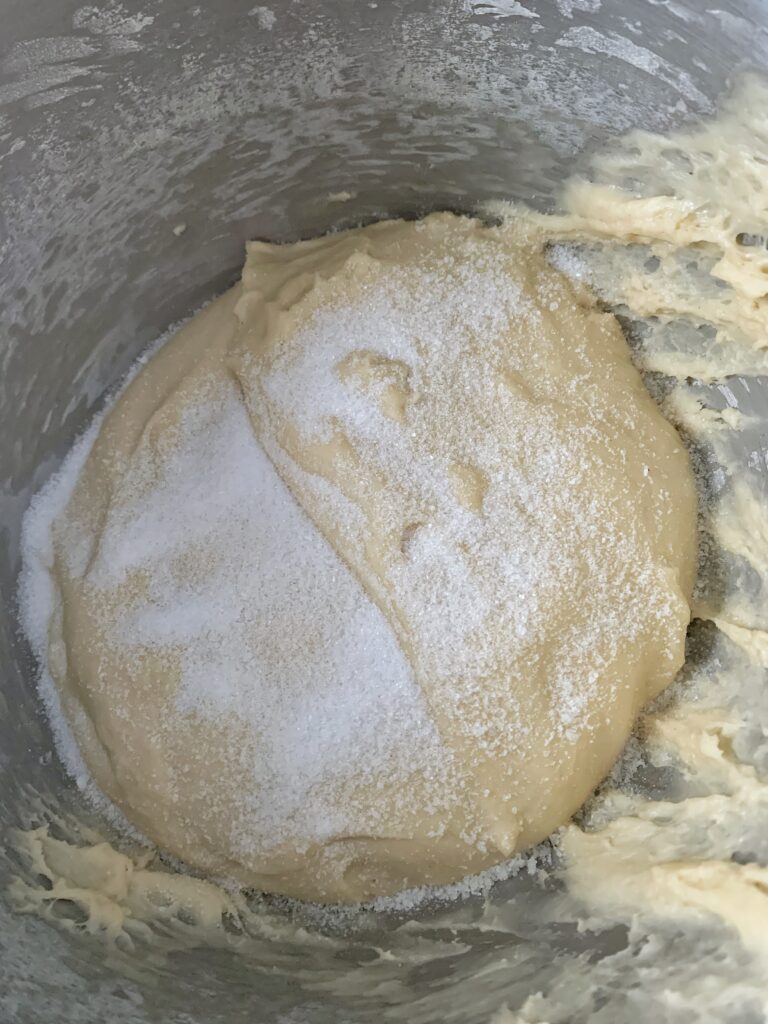
Sprinkle the salt over the top, and mix on medium speed for another minute until fully incorporated.
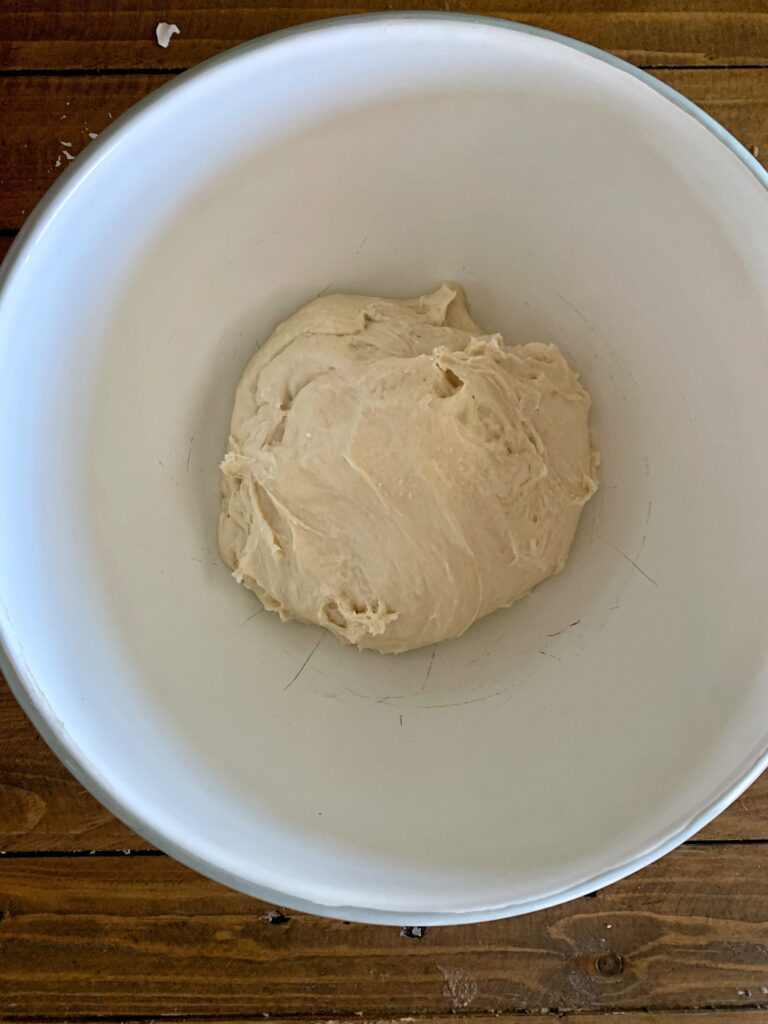
Transfer the dough to a lightly-oiled, large bowl. The dough will be fairly sticky and some will stick to the original bowl, and to your fingers when transferring.
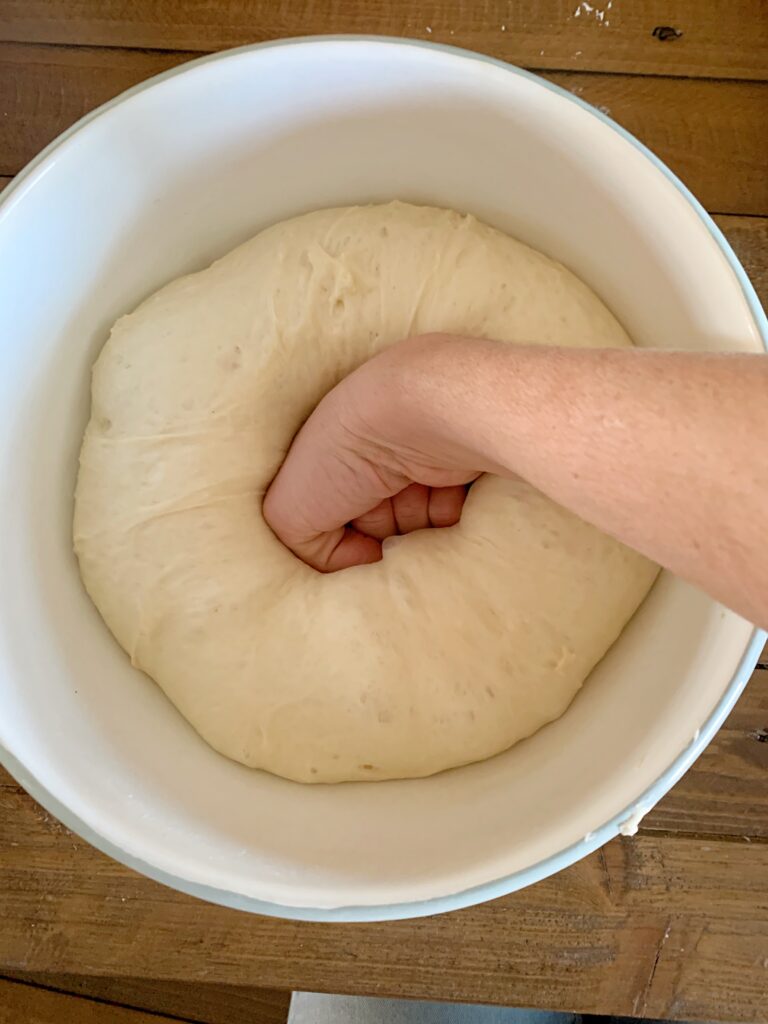
Cover it with a clean tea towel or lid and let it rise in a warm place until doubled in size, about 1-1.5 hours. Once risen or proved, *punch down the dough once to remove the air.
*My husband could not stop laughing when he saw this picture of me punching my dough.
Line a 9×13 pan with parchment paper (or forego the parchment paper by lightly greasing the pan). Coating your fingers in some flour, begin to pinch off and roll the dough into golf-ball-sized balls of dough. Place dough balls slightly touching in the pan. This recipe will make 15 rolls (3 rows of 5 rolls).
Cover with a tea towel and allow to rest in the same warm place for about 20 minutes, until they become lighter and have the consistency of soft marshmallows. They will not double in size on the second rise.
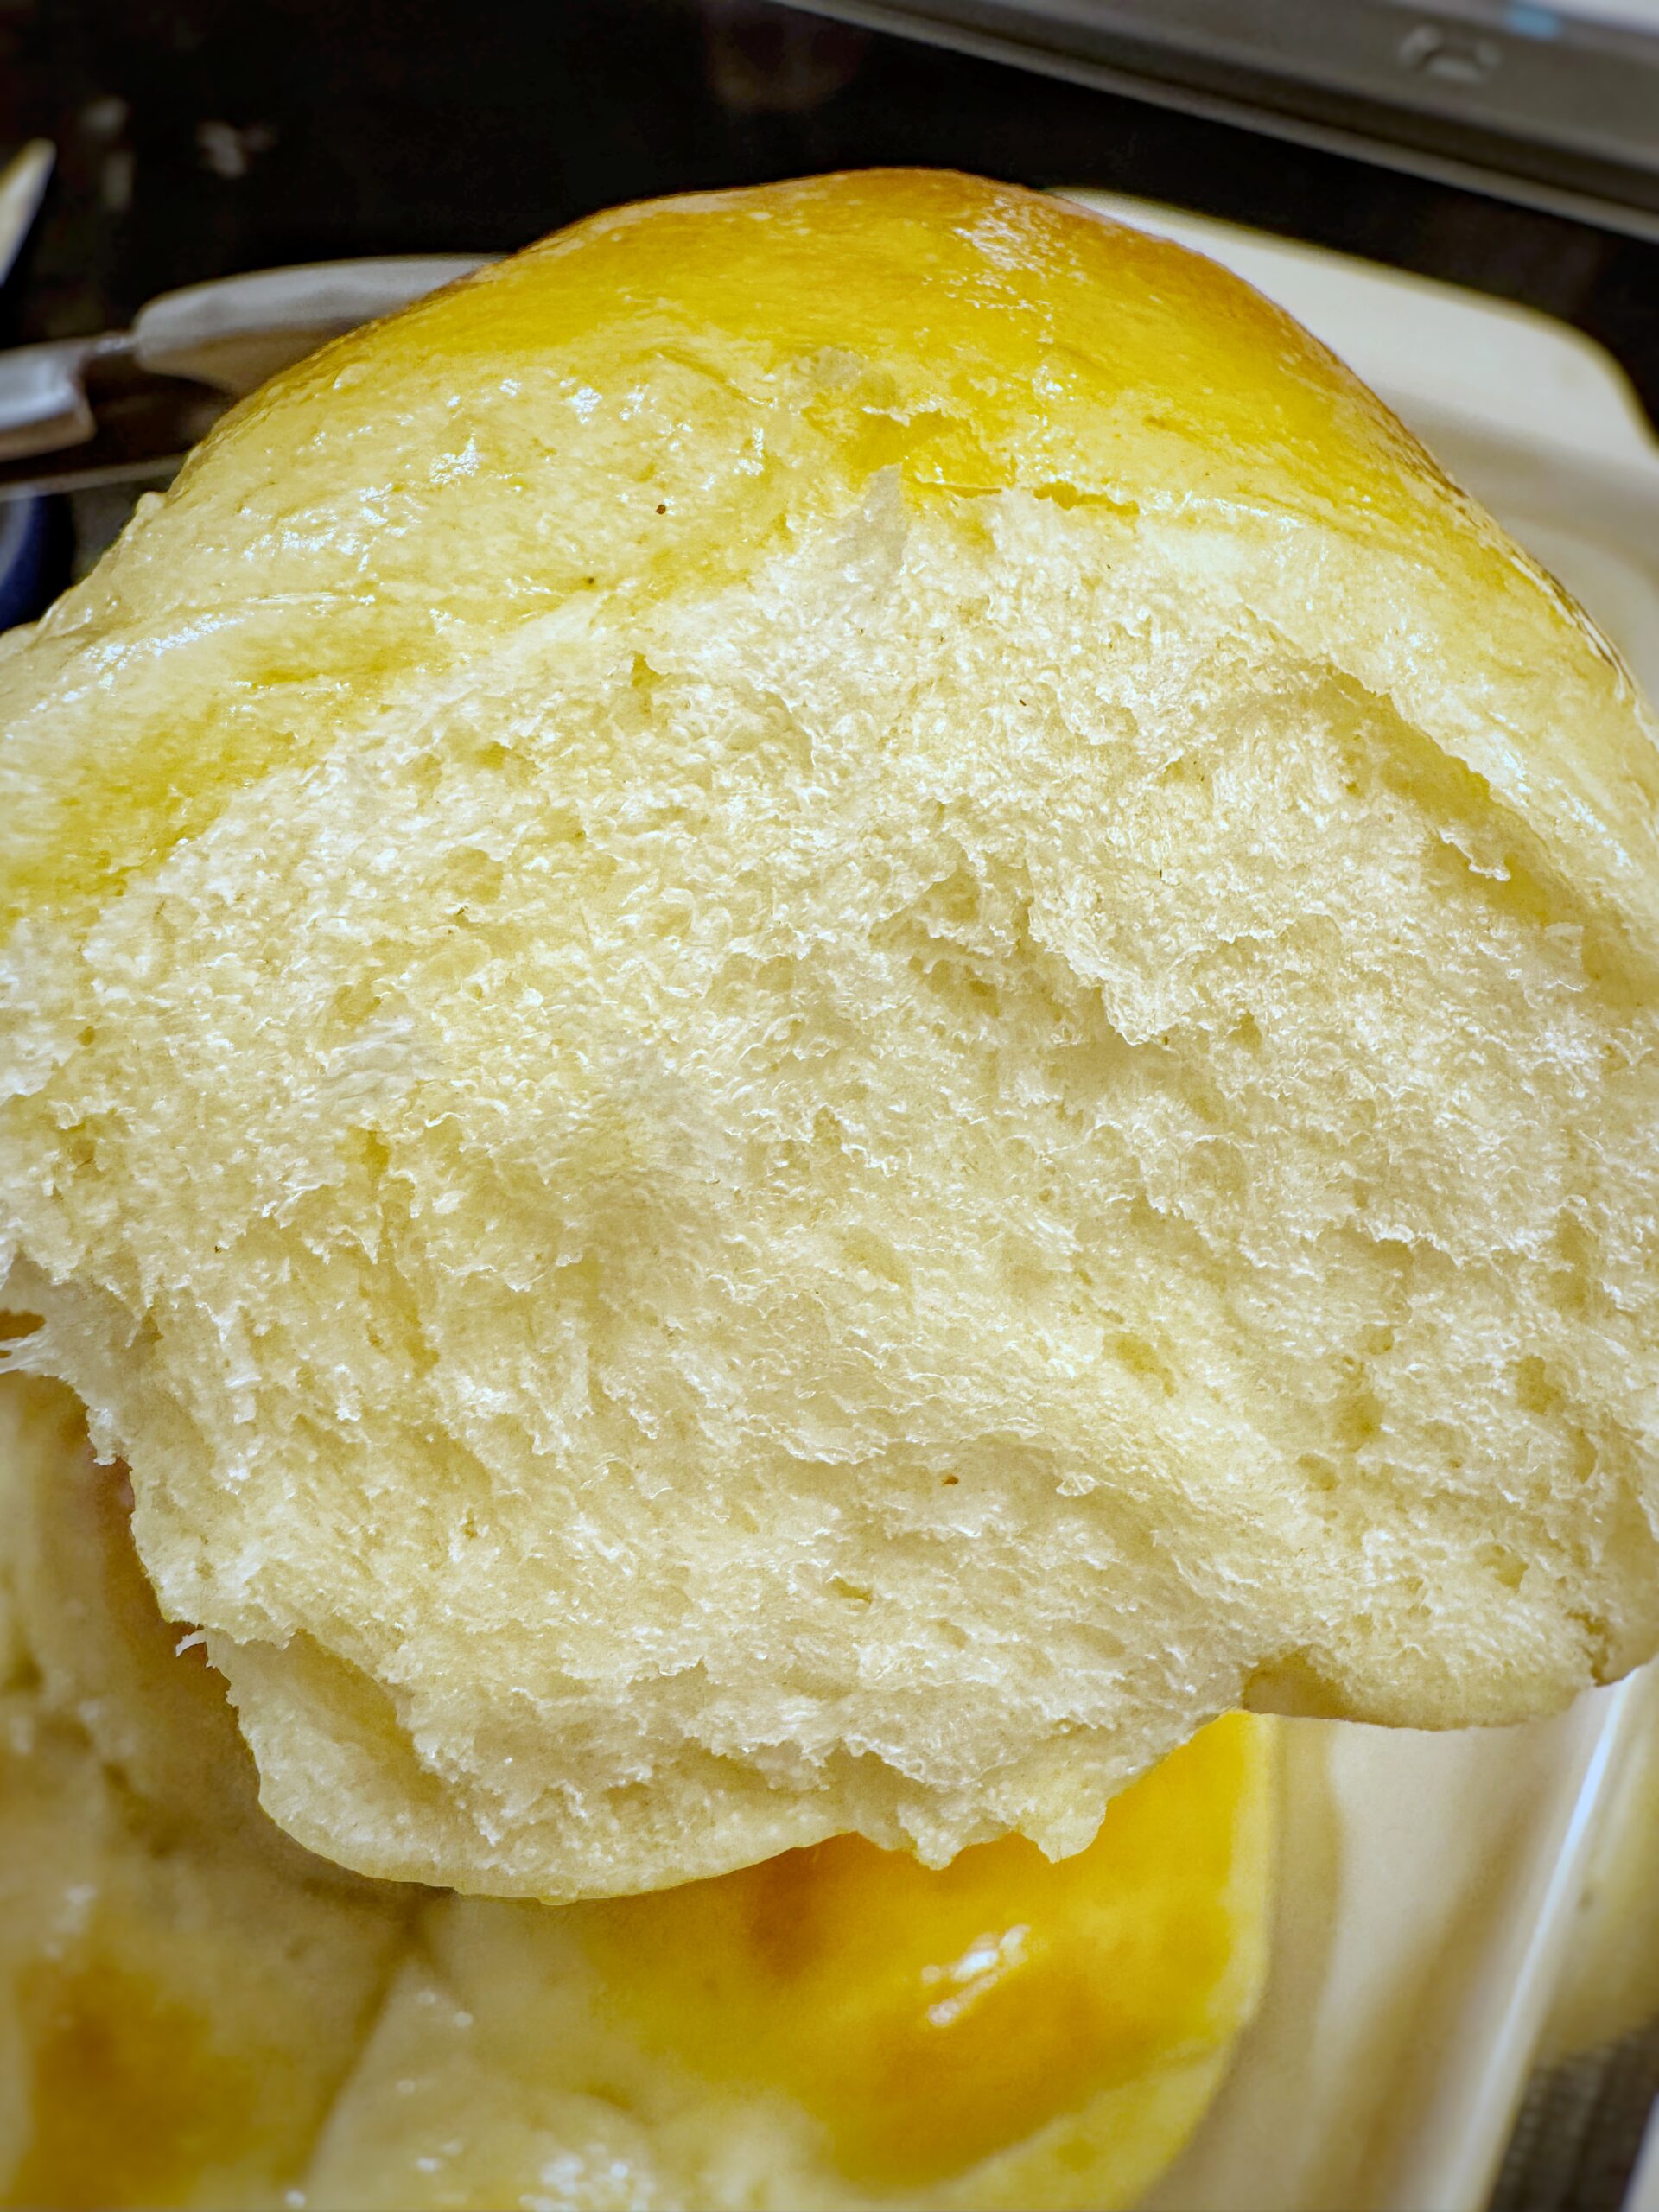
Bake the rolls at 350℉ for about 25 minutes. Remove from oven when the tops are slightly golden. Brush with softened or melted butter and serve immediately.

Homemade Dinner Rolls
Ingredients
- ½ Tbsp active dry yeast
- ½ cup lukewarm water*
- 2 Tbsp avocado oil**
- 1 egg
- ⅓ cup sugar
- ¾ cup water (more as needed)
- 3¼ cup all-purpose flour***
- ½ Tbsp sea salt
- 1 Tbsp butter (for brushing tops of warm rolls)
Instructions
- Dissolve the yeast in the lukewarm water and let sit about 5-10 minutes until foamy.
- Using a mixer fitted with a whisk attachment, combine the yeast mixture, oil, egg, and sugar in a large bowl. Add the remaining 3/4 cup of water and mix to combine.
- Switch to the the dough hook attachment and add the flour. Mix on medium speed until the dough holds together to become a cohesive, slightly sticky ball (about 5 minutes). When you lift up the mixer-head the dough should stick together as one mass of dough, however, it should stretch from the dough hook to the bottom of the bowl. (See photo above). Let the dough rest for 20 minutes in the bowl.
- Sprinkle the salt over the top, and mix on medium speed for another minute until fully incorporated.
- Transfer the dough to a lightly-oiled, large bowl. The dough will be fairly sticky and some will stick to the original bowl, and to your fingers when transferring.
- Cover it with a clean tea towel or lid and let it rise in a warm place**** until doubled in size, about 1-1.5 hours. Once risen or proved, punch down the dough once to remove the air.
- Line a 9×13 pan with parchment paper (or forego the parchment paper by lightly greasing the pan). Coating your fingers in some flour, begin to pinch off and roll the dough into golf-ball-sized balls of dough. Place dough balls slightly touching in the pan. This recipe will make 15 rolls (3 rows of 5 rolls).
- Cover with a tea towel and allow to rest in the same warm place for about 20 minutes, until they become lighter and have the consistency of soft marshmallows. They will not fully double in size on the second rise.
- Bake the rolls at 350℉ for about 25 minutes. Remove from oven when the tops are slightly golden. Brush with softened or melted butter and serve immediately.